
Diy Educational Wooden Forest Animal Toys
I had mentioned before that in the Waldorf approach, there’s a preference for diy educational wooden toys that are not overly detailed, encouraging the child’s imagination through their open-ended nature. One such example is wooden animals. All sorts of animal toys are used, but we decided to make the most popular ones: forest animals. It requires some tools and craftsmanship, but if you have some skills, it’s doable at home.
Materials along with Amazon links
- Wooden plank Link
- Carbon paper Link
- Jigsaw Link
- Dremel Link
- Acrylic paint Link
- Water-based wood varnish Link
- Vise set Link
Instructions:
First, draw the animals in two dimensions on paper. You can find templates online or take original animal pictures and redraw them with some modifications. We made sure the lines were not too sharp or detailed. Then, you can scale them as desired in Photoshop and print them out.
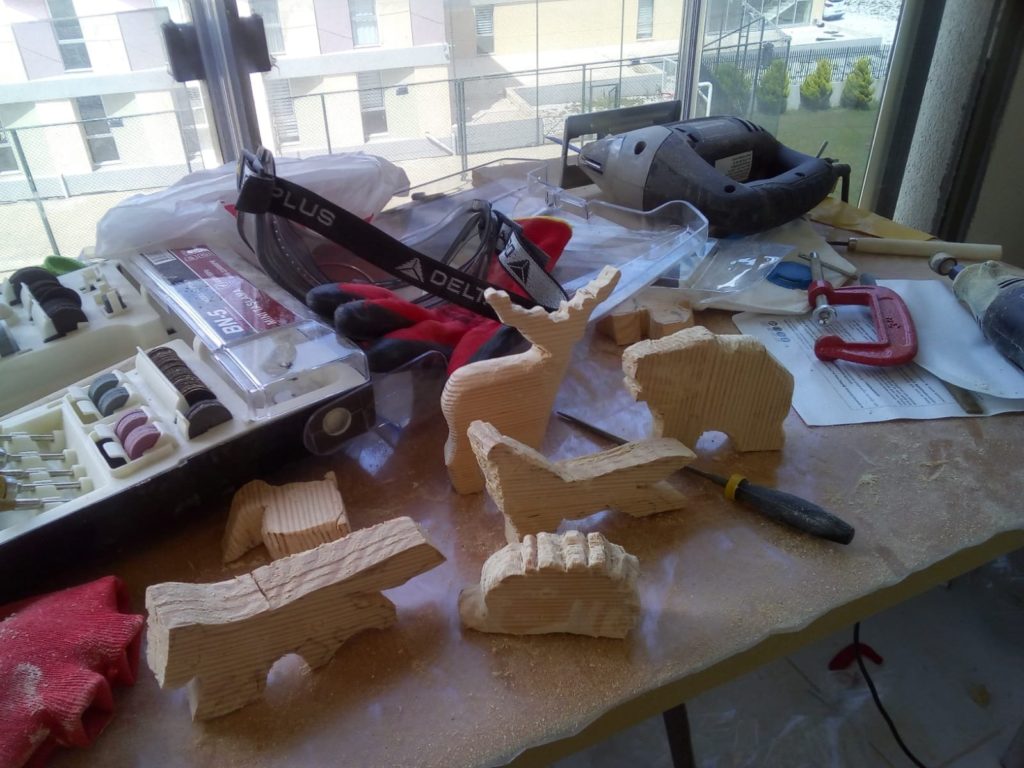
Next, transfer the templates onto the wooden plank using carbon paper, secure the plank with a vise, and roughly cut out the shapes with an electric jigsaw.

Then, use the engraving set’s sander and burr to detail the edges and corners, softening them. Sometimes, we also used a manual carving set for finer details. Always wear protective gloves and goggles when using the electric saw and engraving set.
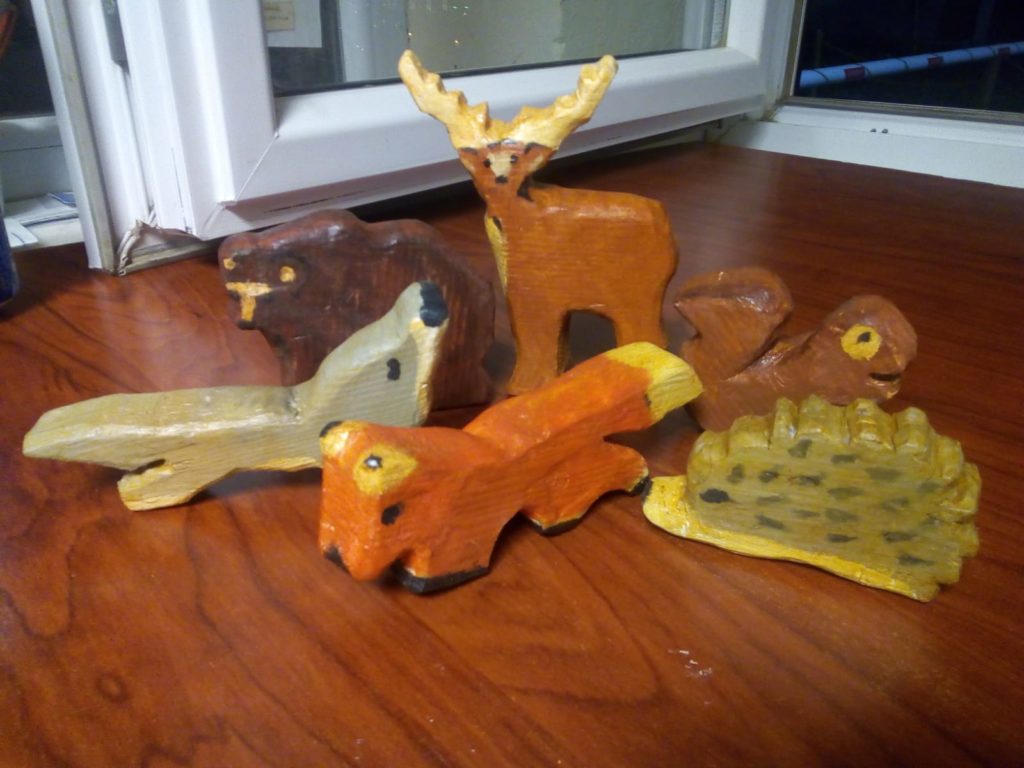
Once the animal figures are shaped, wash them with water. Then, apply a single coat of acrylic paint. After the paint dries, apply a water-based varnish. Finally, polish them with the engraving set’s polisher.
Translated from here